
Your first reel in 5 minutes
If you've already set up your account, your logo, bio, and contact info will appear automatically. This walkthrough assumes you've done that.
New to ReelCrafter? If you haven't uploaded any media yet, start by going to Audio or Videos in the left sidebar and uploading your files. Then come back here.
1. Create a new reel
Click the + icon in the upper right corner to create a new reel. Give your reel a name and click Create and edit.


Your new reel will appear in the Unfiled folder. If you can't find it later, check there or use the "All Reels" view.
2. Add your audio and video
Your reel starts with a basic template. Scroll down to the Media block and click to expand it.
Adding audio
Click Add playlist, then Add tracks. Select tracks from your library or upload new ones.
Add playlist

Add tracks

If you upload during the build, wait for tracks to finish processing before selecting them. Check the boxes next to the tracks you want and click Choose tracks.
Choose tracks

Tip: Reorder tracks by dragging them.
Adding video
You have two options for video:
- Media block: Add full-size videos, or half-column videos alongside your audio tracks
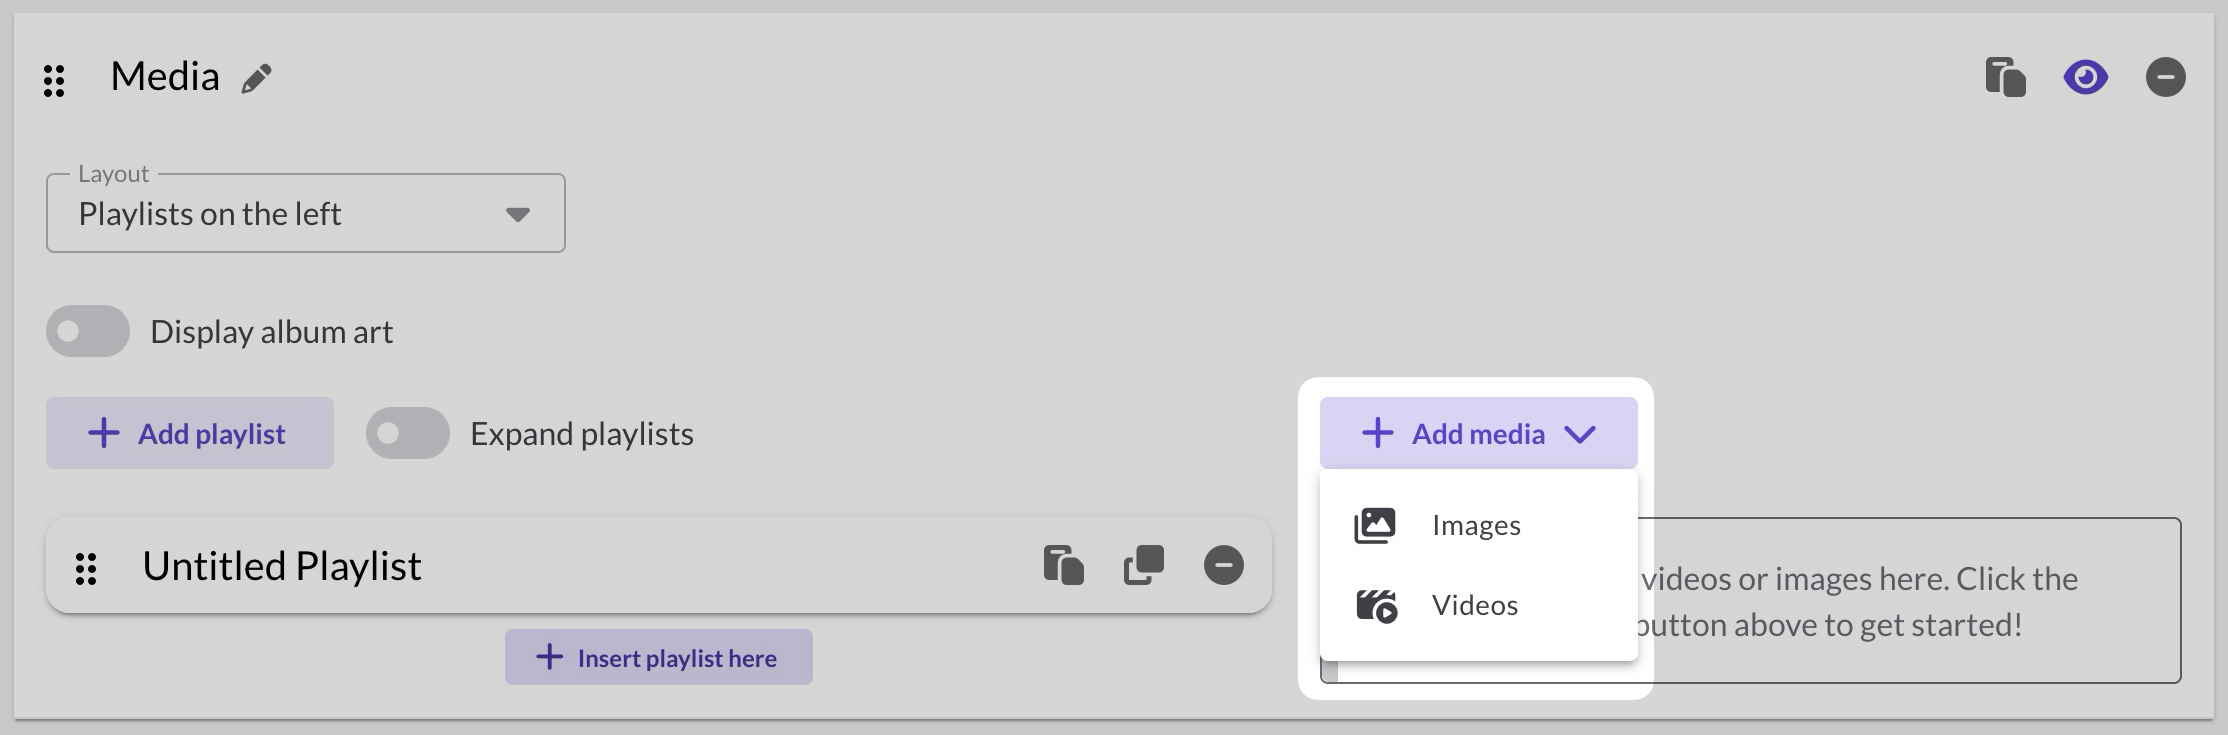
- Video Gallery block: Display multiple videos in a grid layout
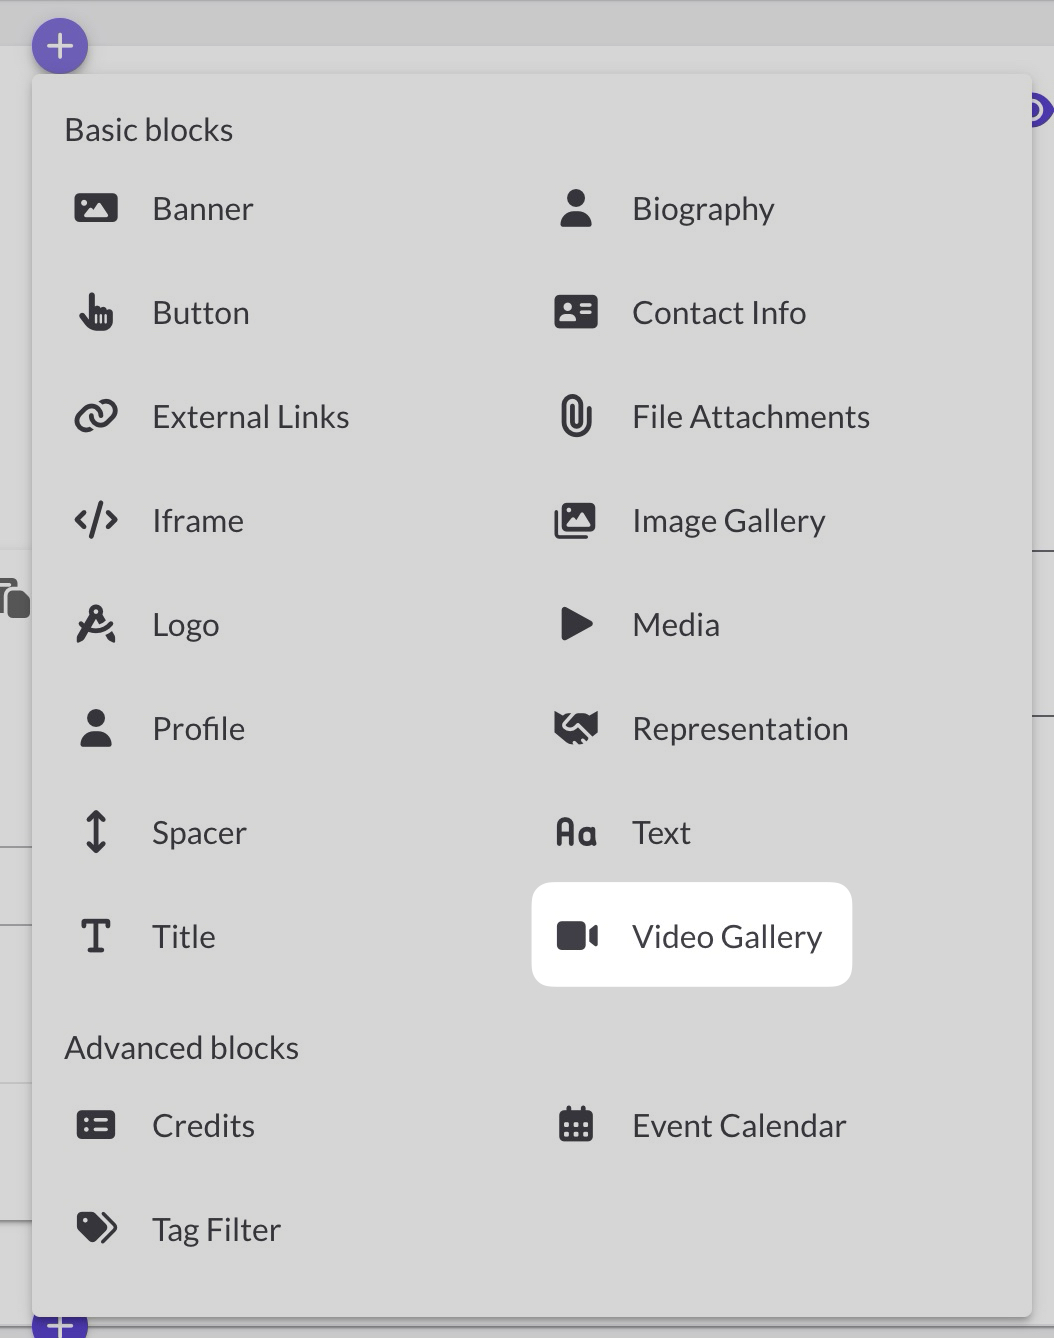
To add a Video Gallery, click the + icon between blocks and select Video Gallery.


3. Check your defaults
Scroll through the other blocks. If you set up your Reel Settings, you'll see:
- Logo: Already there, using your default logo.
- Contact Info: Also present, using your default contact information.
- Biography: This should also be populated with your default headshot and biography.
- Representation: Toggle on/off which contacts to show
- External Links: Toggle on/off which ones to show

If something's missing, you can add it now or go back to Reel Settings. If you click the override toggle and add info directly in the Reel Builder, you'll have the option to save it as your new default. Learn more in Defaults and Overrides Explained.
4. Preview your reel
Click Preview draft in the upper right to see how your reel looks. This opens in a new tab with a "Draft" watermark.

Review how it looks at different browser widths to see mobile vs desktop.
Note: This preview link only works for you. Don't share it, because it won't work!
5. Publish and share
Click Save and publish. You'll be asked to name your share link. This is just for you to identify it later (like "Music Supervisor – January"), which will be helpful when someone opens this link, and ReelCrafter tracks their activity.

Click Create share link. You'll land on the reel detail page with your new link ready to copy.
Click the clipboard icon to copy your link and send it.

That's it!
You've created and shared your first reel. Your recipient will see your tracks, your branding, and your contact info all in one place, and you'll be able to track when they open it and what they listen to.
What to do next
Now that you've built a reel, the next question is usually how to share it, and when a reel is the right choice versus a playlist or Quick Share.